I’ll be honest, I have waffled back and forth on whether to equip my Goldwing with an aux fuel tank. I had convinced myself that I could manage stops without the extended range, but a couple of early season rides changed my mind. I don’t really think it is about staying in the seat for longer stretches. It is more about adding flexibility to my planning and eliminating one more variable that can be different than planned due to elements outside of your control (like riding into a stiff headwind, for example).
I have a friend over in Auburn who is building a setup for himself and he offered to help me out. Our first attempt was admittedly basic and pretty rough. It would have been effective, but I would have lost some things on my bike that I enjoy. We fit it up but I elected to not use it.
Without a tank. The Pelican case locks onto a plate and can be removed to take it into the hotel at night.
The first attempt. It was a little too much for me, and I lost the rear seat for storage. You can see the Pelican case mounted behind the tank.
Then he started welding up a tank for his Wing and offered to do one for me. I thought about it and decided to come up with my “perfect” solution. It had to be low profile, match the bike’s styling to the extent possible and allow mounting my Pelican case on top. He threw in a few more options that I hadn’t thought about, most impressive was the adjustable mounting that allows me to position the tank front to back to meet my exact needs. It turned out awesome!
Here’s the second attempt mounted for fit check.
Here’s the finished and powder coated tank. The plate on top is what accepts the Pelican Case hardware.
Now that a tank is designed, on to the terrifying prospect of drilling a hole in my expensive touring bike’s gas tank to accept the fuel line. Basic premise – the aux tank sits higher than the main tank. A shutoff valve controls the flow of gas from aux to main. When the main tank is low (nearly empty), the valve can be opened and fuel transfers form the aux to the main using gravity. The aux tank holds roughly 4.5 gallons for a total capacity of 10 gallons.
Running a test line to see how to configure it to minimize any sharp radius turns.
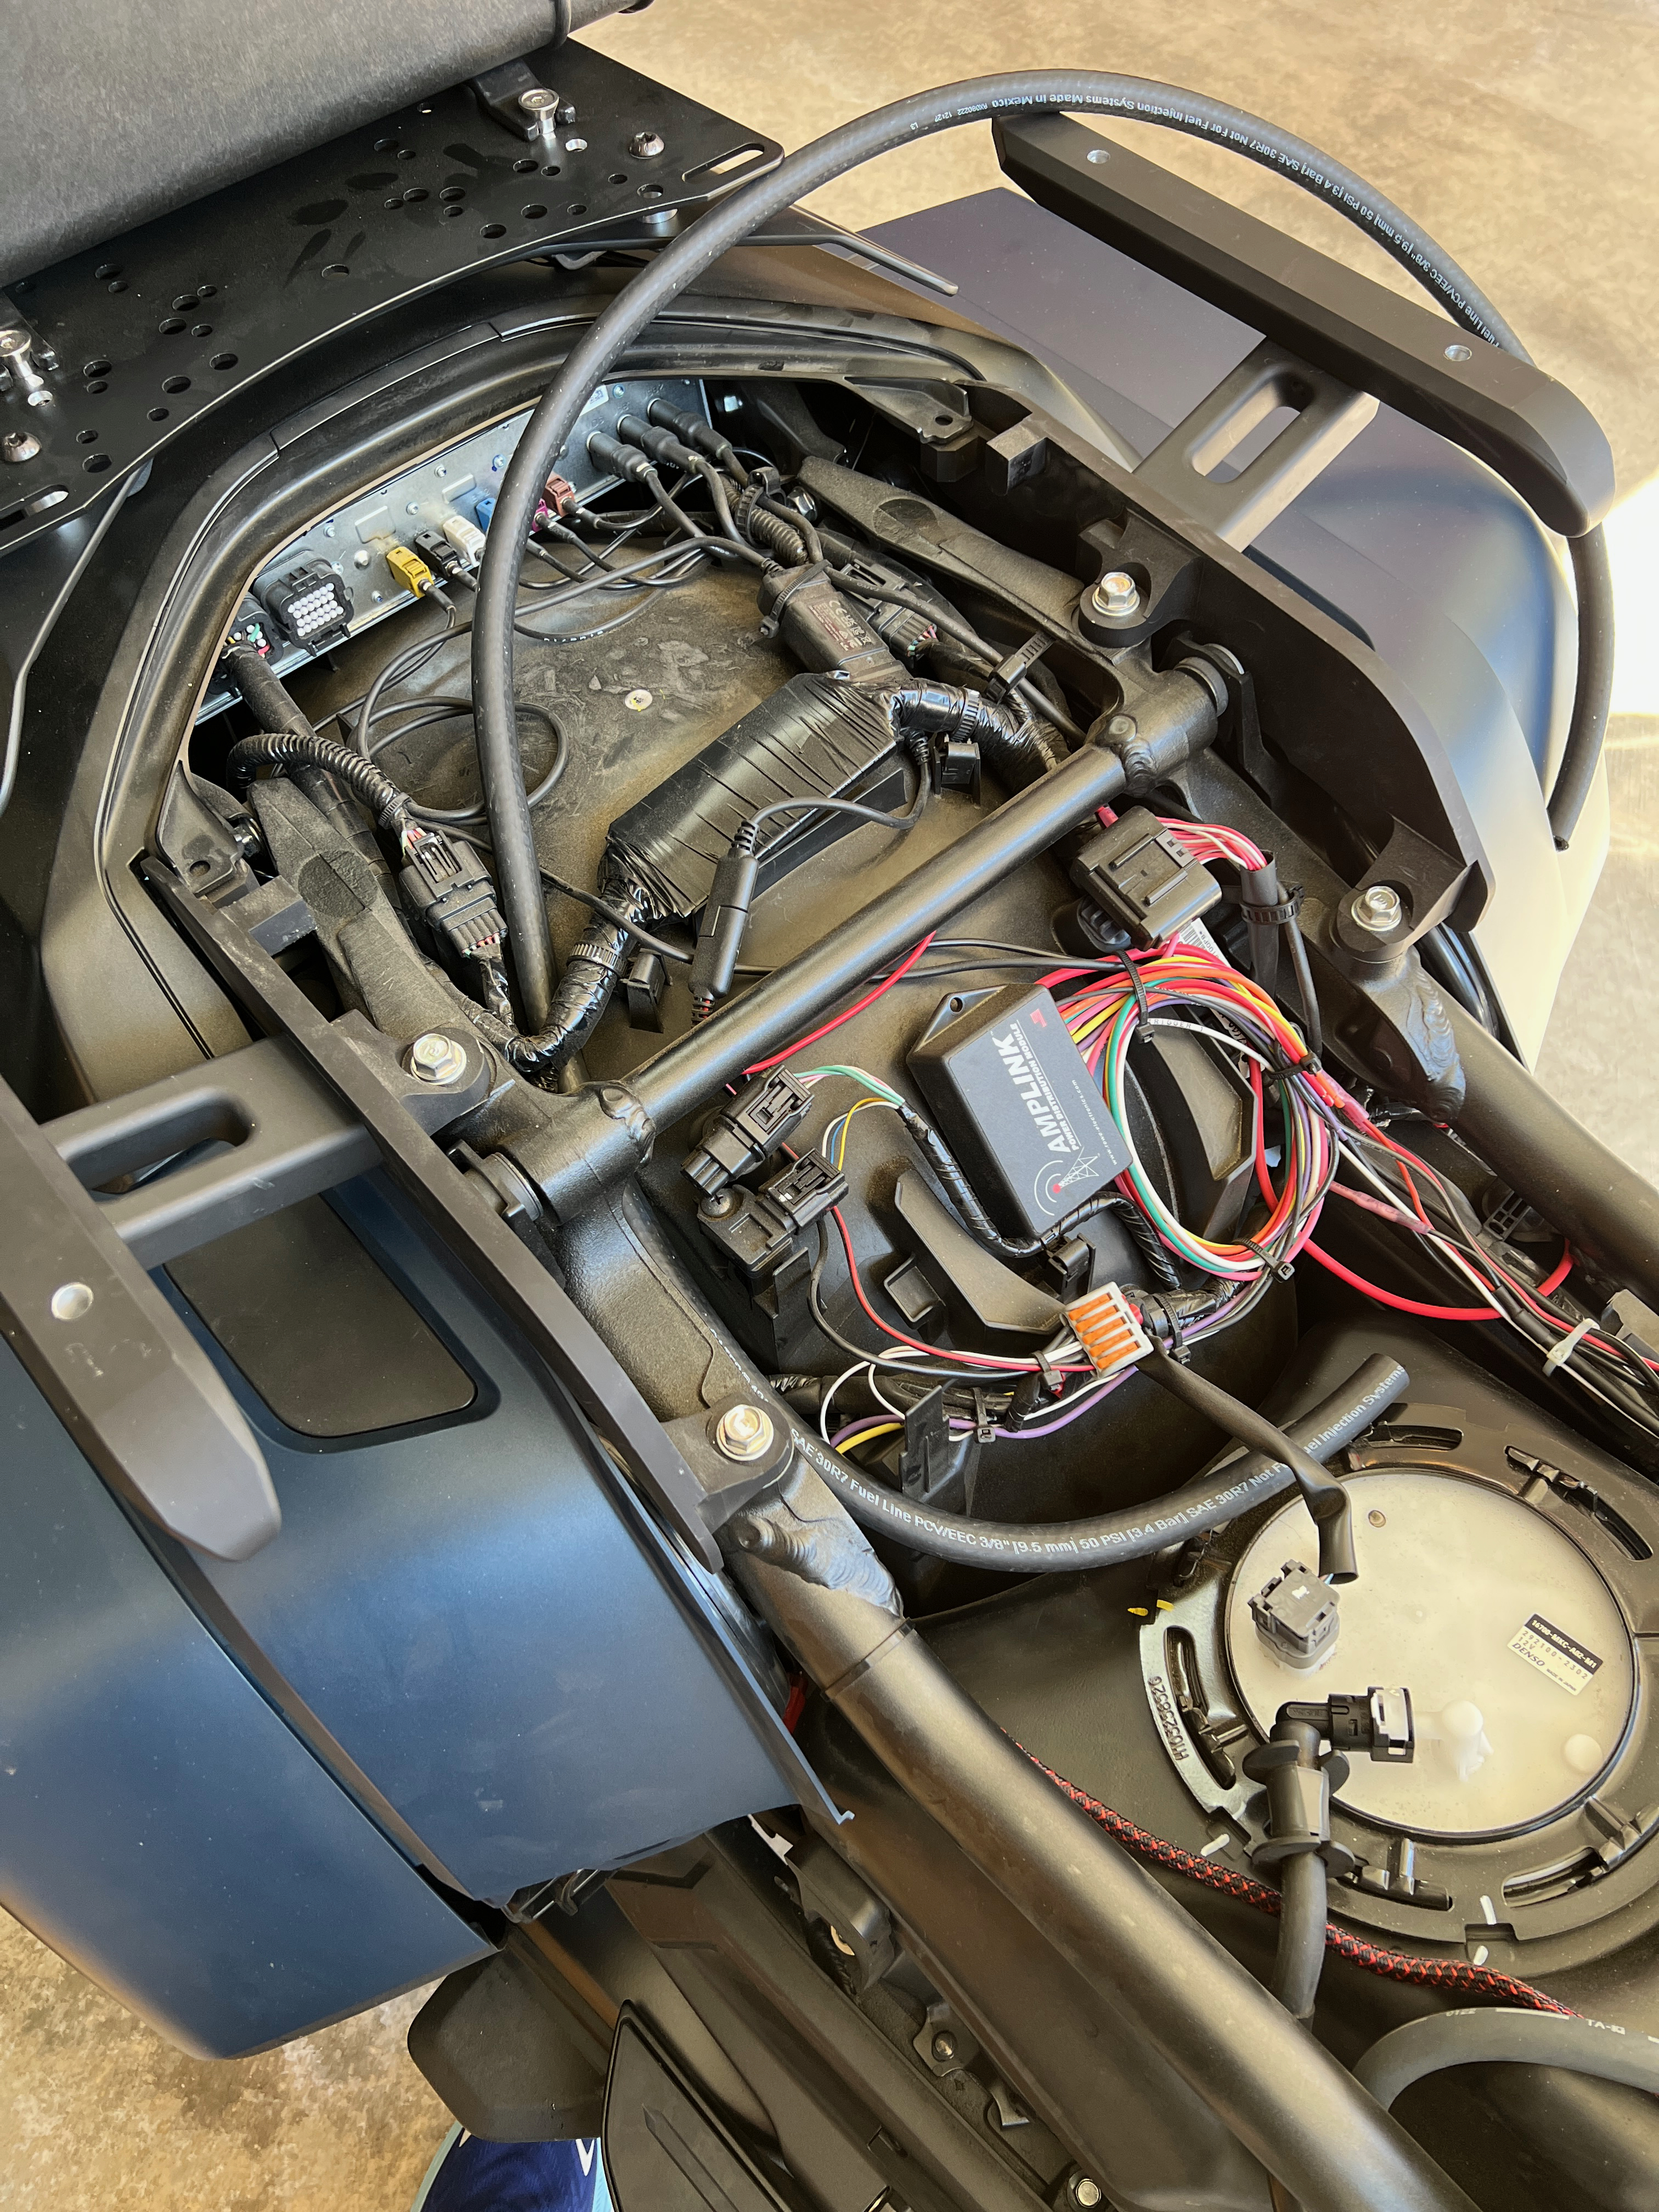
Disconnect power, fuel line and remove locking ring to access the inside of the tank.
Drilled and bulkhead connector installed. Wrong washers, but it will do until Amazon delivers the correct washers.
Now that the “hard” part is done, I put it back together and finish running the line to the quick disconnect. The next steps involve installing the newly finished hardware and tank and running the fuel line to the tank.
Here’s the OEM stamped steel plate. It just isn’t designed for the weight of an aux fuel tank and Pelican case. Off it comes!
Here’s the replacement plate installed. This sits under the bike’s plastic. Much beefier!
And now with the bike’s plastic installed and the tank mounting plate bolted in. Ready for the tank!
The process to remove the old and install the new parts took about 2 hours. It would likely take less time for someone more proficient with the plastic bits and pieces, and maybe if fewer nuts and washers had been dropped into the bodywork…
The tank is mounted, the Pelican case is attached. Just need to run the vent line and check for leaks!
And the vent line is run.
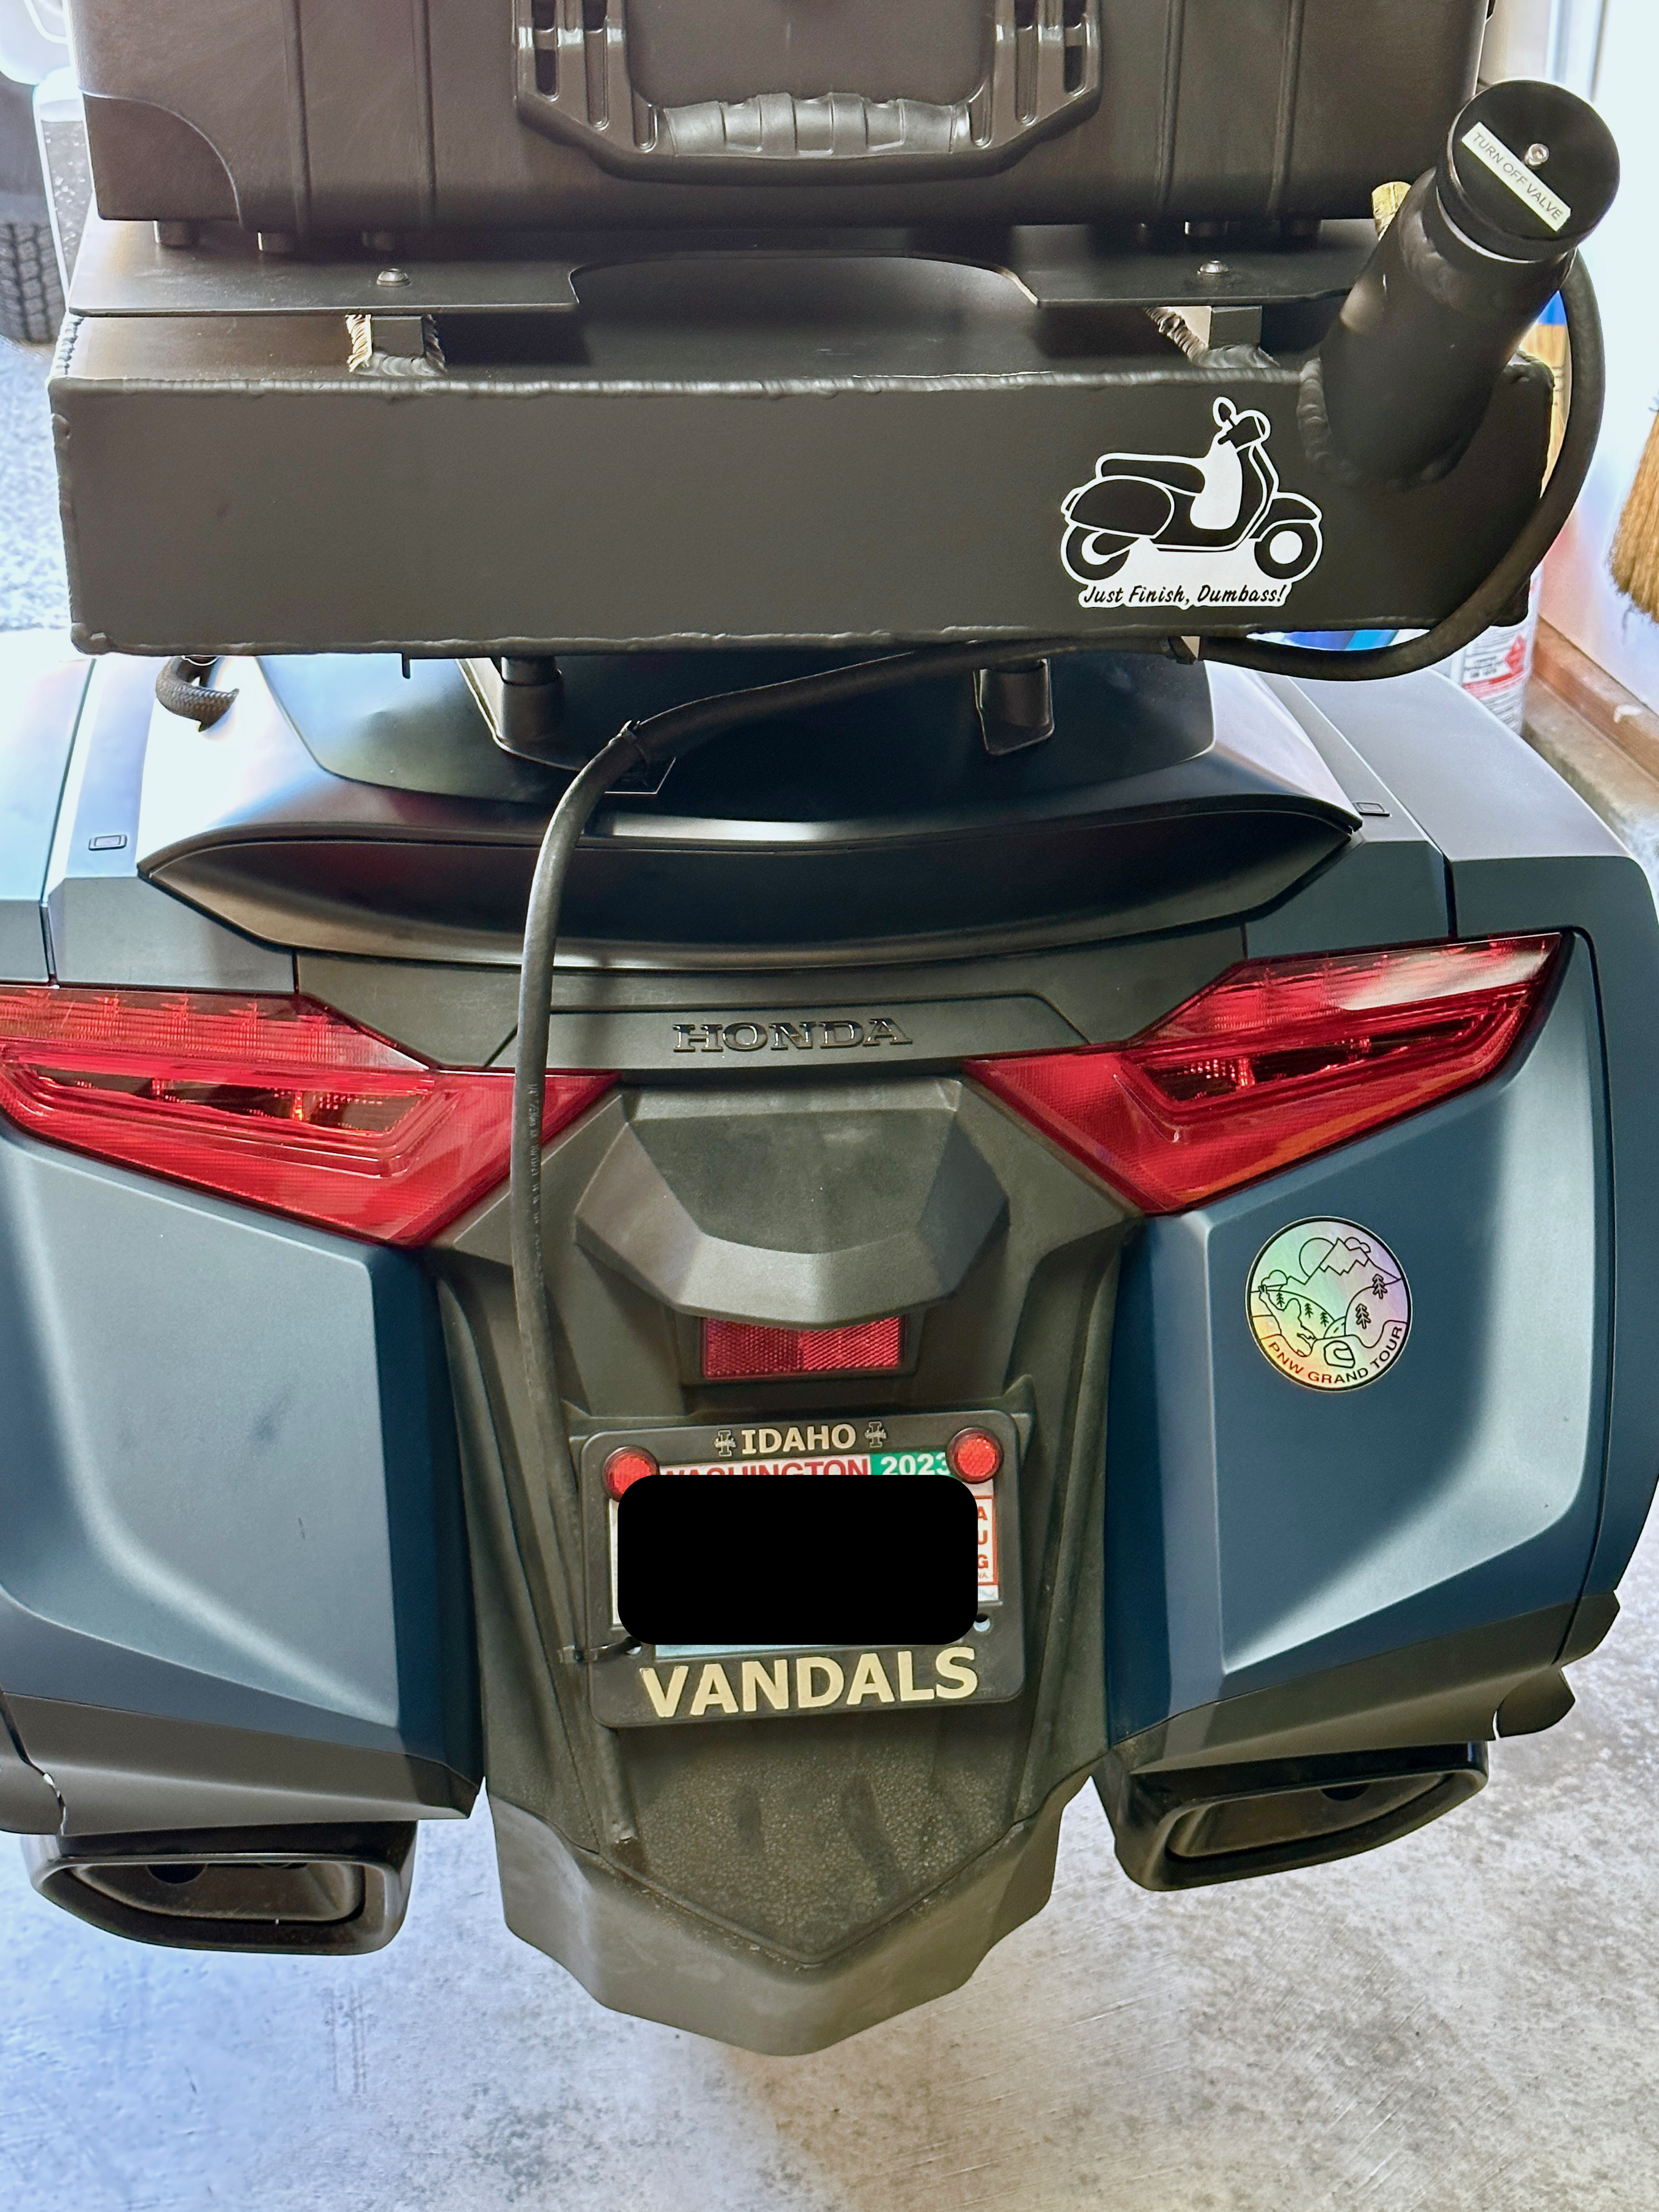
After playing around with the Pelican case mounting hardware, I decided to remove it and just hard mount the case to the plate. I actually like it better this way. Also, in the picture above you can see the fuel shutoff valve. It is positioned so that I can reach back and operate it without having to reach very far. The main tank reaches reserve and I open the valve to allow fuel to flow out of the aux tank. Much testing will be required to get the hang of when to open the valve and for how long.
One final touch to remind me of my priorities 🙂
I hope to get out and ride with the tank the first weekend in April. I am sure I will have more to add then.
Just under 3 months until the start of the Iron Butt Rally!


No comments:
Post a Comment